
How to Restore Dry Wooden Utensils: Fix Splitting & Chalky Teak Spoons
Is your favorite wooden spoon looking dry, chalky, or starting to splinter? Before you toss it out, check the crack depth: if splits are under 1mm deep, a quick 4-step sanding and food-grade mineral oil soak will fully restore it. However, if cracks extend deeper than 1mm, discard the utensil immediately—deep splits trap food juices and bacteria that cannot be safely sanitized.
Repair vs. Replace Diagnostic Flowchart
- Inspect Spoon Surface: Is split depth greater than 1mm or cracking through the handle shank? → Yes: Retire & Replace Tool Immediately (High Bacterial & Structural Risk). No: Is the surface chalky, rough, or showing fine splinters?.
- Is the surface chalky, rough, or showing fine splinters? → Yes: Proceed to 4-Step Sanding & Mineral Oil Hydration. No: Perform Monthly Preventative Conditioning Routine.
Teak Wood Failure Modes & Diagnosis Matrix
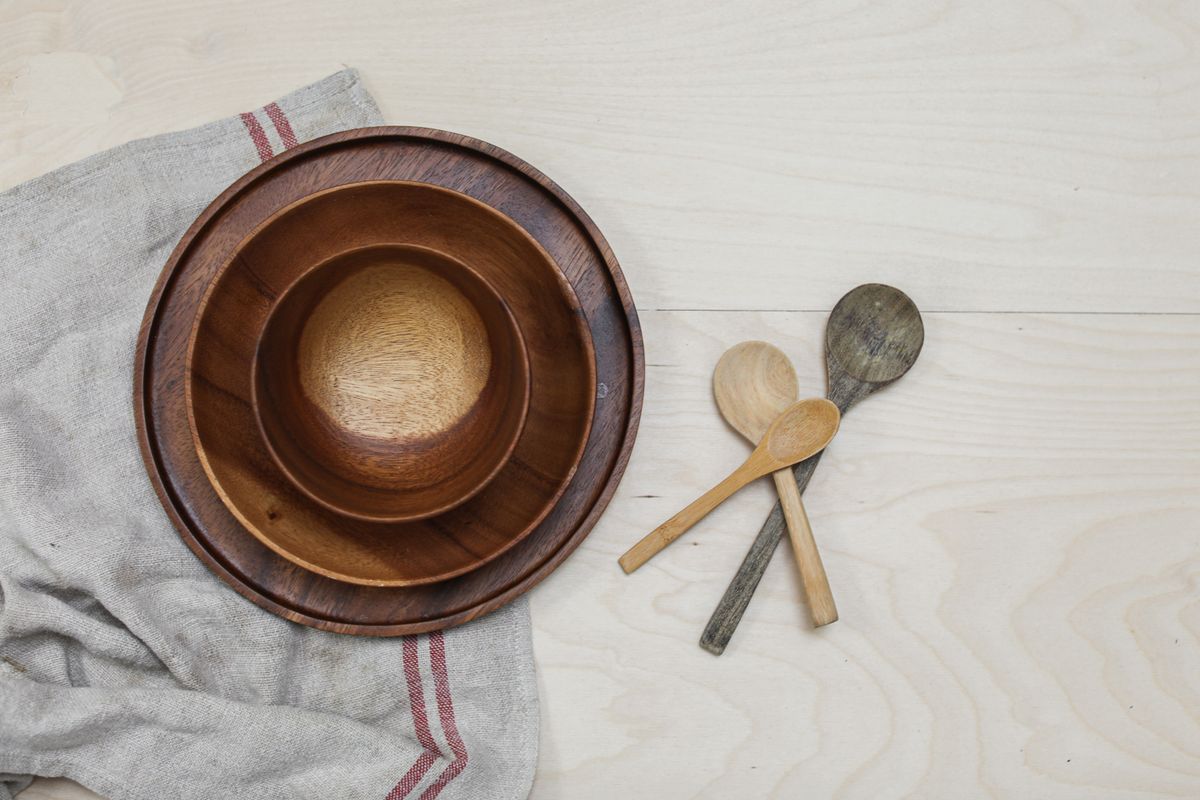
Photo by Cup of Couple on Pexels
| Failure Mode / Symptom | Root Cause | Safety Risk Level | Immediate Corrective Action |
| --- | --- | --- | --- |
| Chalky white film & dull finish | Harsh dish soap stripping surface lacquer and natural teak oleoresins | Low (Cosmetic) | Hand wash, air dry for 24 hours, and coat generously with USP food-grade mineral oil. |
| Raised grain / prickly texture | Water absorption causing surface wood fibers to swell and lift | Low (Tactile) | Sand lightly along the grain with 220-grit sandpaper, wipe dust, and apply wood wax. |
| Superficial checking / hairline cracks (<1mm) | Rapid ambient humidity drops or dry indoor storage | Moderate (Monitor) | Deep-soak in warm mineral oil overnight; re-oil weekly until hairline cracks seal. |
| Deep longitudinal split (>1mm) | Dishwasher thermal shock, long soaking in water, or severe dehydration | High (Bacterial Risk) | Retire utensil immediately. Never use wood glue or epoxy on food-contact surfaces. |
| Rancid or sour odor from wood | Conditioning wood with olive, canola, or vegetable oil (lipid oxidation) | Moderate (Food Flavor Spoilage) | Scrub with white vinegar and baking soda paste, sand surface layer, and re-oil with mineral oil. |
Identify the physical symptoms affecting your wooden kitchen tools to pinpoint root causes, evaluate safety risks, and execute immediate corrective actions.
Pro Tip: Leveraging Teak's Natural Silica and Resilient Oleoresins
Teak (Tectona grandis) is the crown jewel of kitchen hardwoods because its cell structure naturally packs high concentrations of silica and hydrophobic resins. When your teak spatula looks chalky, the wood fibers aren't permanently ruined—the surface layer is simply thirsty!
Unlike softer woods like beech or birch, teak responds exceptionally well to micro-sanding. Always sand strictly parallel to the natural grain, using light pressure with 220-grit sandpaper followed by 400-grit for a velvet-smooth finish. Never use household vegetable oils; stick strictly to non-drying USP food-grade mineral oil or beeswax to prevent rancidity.
Wooden Spoon Restoration Checklist
- Inspect spoon for cracks deeper than 1mm (retire if present)
- 220-grit and 400-grit fine sandpaper
- Food-grade USP mineral oil or food-safe beeswax paste
- Clean lint-free microfiber cloth
- Mild dish soap and white distilled vinegar
- 24-hour dry rack setup
Selecting the Right Finish: Mineral Oil vs. Beeswax vs. Pantry Oils
- Are you considering using olive, vegetable, or canola oil from your pantry? → Yes: STOP: Cooking oils oxidize rapidly, turning rancid and ruining food. Switch to mineral oil.. No: Do you need maximum water resistance for frequently washed spatulas?
- Do you need maximum water resistance for frequently washed spatulas? → Yes: Choose a Mineral Oil & Pure Beeswax Butter Blend (creates a durable hydrophobic seal).. No: Use 100% Pure USP Food-Grade Mineral Oil (absorbs quickly for rapid hydration).
When Restoration Isn't Safe: Upgrade to Lifetime Teak
If your current wooden spoons suffer from deep structural splits, gluing or heavy sanding won't eliminate the bacterial hazard. Upgrade your kitchen with our split-resistant, beautifully finished set engineered for decades of daily cooking.
Key Takeaways for Long-Term Teak Preservation
- Crack depth dictates safety: splits under 1mm can be sanded and oiled; deeper cracks require tool replacement.
- Never apply vegetable, olive, or canola oil to wooden cookware because lipid oxidation causes sour, rancid smells.
- Allow wooden tools to air-dry for a full 24 hours before applying mineral oil so you don't trap moisture inside wood pores.
- Teak contains natural silica and resins that reactivate upon rehydration, restoring its golden-brown luster.
- Dishwashers are the primary cause of warped and split spatulas due to intense heat, high water pressure, and harsh alkalis.
4-Step Teak Spoon Restoration Process
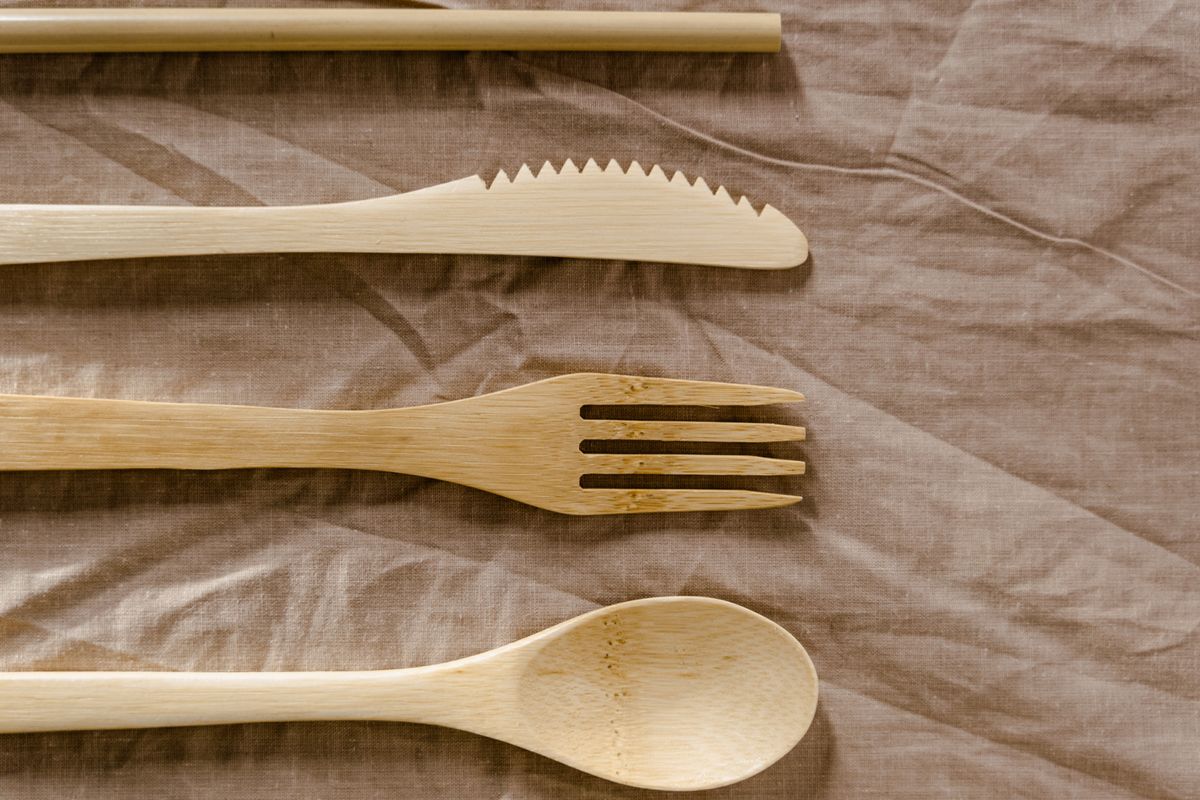
Photo by Tima Miroshnichenko on Pexels
Follow this easy, proven technique to revive chalky, dry, or splintering teak utensils in under 30 minutes of active effort.
5 Deadly Mistakes That Ruin Wooden Utensils
Avoid these frequent mistakes to ensure your wooden spatulas and spoons stay smooth and durable.
Frequently Asked Questions About Restoring Wooden Spoons
Quick answers to common troubleshooting questions regarding wood finishes, safety, and seasoning.
Immediate Next Steps to Save Your Cooking Tools
Your decision: Inspect your dry utensils today for cracks deeper than 1mm. If splits are superficial, prepare to sand and re-oil; if cracks are deep, retire the tool to prevent bacterial growth.
Do this next: Sanitize salvageable utensils with warm water and vinegar, allow 24 hours to air dry completely, and saturate with food-grade mineral oil.
Related resource: Teak Wood Utensil Cleaning & Preservation Hub
If your spoons are cracked beyond repair, upgrade to our split-resistant 9-Piece Teak Utensil Set at teakutensils.com.
Take action today to preserve your kitchen tools and maintain a safe, sanitary cooking environment.
Further Reading & Maintenance Guides
Offer next reading links to maintain a complete teak utensil care routine.
Cover photo by AI25.Studio AI GENERATIVE on Pexels.