How to Sand and Smooth Rough Teak Utensils: A Step-by-Step Restoration Guide
To sand and smooth rough teak utensils, wash them, let them dry completely, then rub lightly along the grain with fine abrasive paper until raised fibers lie down. Wipe all dust. Stop as soon as the surface feels even. Sanding is restoration for fuzzy grain or a nick, not a weekly polish, and it will remove the clear lacquer on the area you sand. If a new piece arrived splintered, contact our team instead of grinding a manufacturing defect into a thinner spoon — that's what our craftsman's promise is for.
Decide whether the utensil needs sanding at all
Run a clean, dry thumb along the handle and the bowl. Raised grain after a soak feels like stubble. A crack feels like a line that catches. Food film feels slick, not rough, and wants soap, not paper.
If the clear lacquer is still glossy and the roughness is a sticky film, wash with soap and water and dry completely. Sanding a sound finish to chase a sauce stain is how a spatula loses its sheen.
If the wood fuzzed after sitting in a sink, sanding can restore a usable smoothness. If the piece is splitting down the shaft, sanding will not close a split. Retire that tool from heat and stirring.
Dry first, then sand along the grain
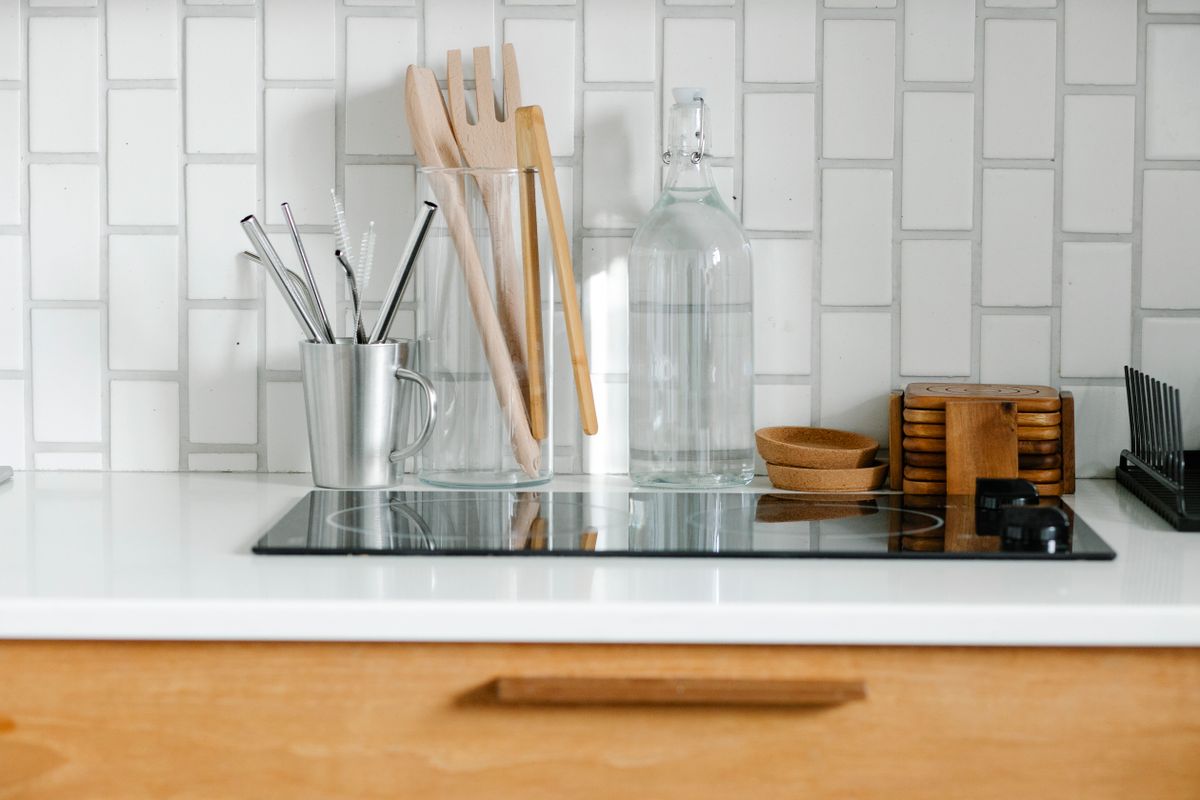
Photo by Sarah Chai on Pexels
Water in the fibers makes teak swell. Sanding swollen wood leaves a surface that goes rough again as it dries. Stand or hang the utensil until it is fully dry, including the bowl of a ladle and the slots of a turner.
Wrap fine abrasive paper around a flat block for handles, and around a finger for the inside of a spoon. Stroke with the grain, not across it. Cross-grain scratches in teak catch light and catch food.
Use light pressure. Teak’s Janka hardness of about 1,000–1,150 lbf means it does not melt under a fingertip, but edges and handle holes are thin. Rounding a hole into an oval is a permanent change.
What sanding does to a lacquered finish
These utensils are described with a clear lacquer coating that helps keep a glossy look and with high water resistance. Sanding that spot back to bare wood is a trade: smoothness now, less factory finish there. Do not chase a perfectly even sheen across the whole 9-piece set by stripping every tool.
After dust is wiped, keep using soap-and-water rinses and full drying. This guide will not name a required oil or a required recoating product. If a food-contact finish is added, it is the owner’s choice and must be safe for cooking tools. The factory path in the product directions is rinse, dry completely, and store with air.
Never sand in the kitchen sink while water runs. Dust plus wet teak is mud.
Nicks, dishwasher fuzz, and when to stop
A small nick on a spatula edge can be eased with the same fine paper, still with the grain. Do not try to reshape a pasta server into a new silhouette. Geometry is the tool.
Dishwasher fuzz on several pieces is a habit problem. Sanding once, then running the dishwasher again, is a loop. Hand-wash going forward.
Stop when the thumb no longer catches. More paper only thins the tool. Smooth to touch and easy to grip is the original goal; restoration is a return to that, not a sculpture project.
Rough teak: sand, wash, or replace
| What you feel | First move | Do not | | --- | --- | --- | | Sticky film | Soap, water, full dry | Sand a sound lacquer | | Raised grain stubble | Dry, then fine paper with the grain | Sand while wet | | Sharp nick | Light local sanding | Reshape the whole head | | Split shaft | Stop using for heat and leverage | Glue and return to the stove | | Arrived splintered | Contact our team | Grind it thinner |
Dust, wash, and return the tool to the kit
Wipe sanding dust with a dry cloth, then a barely damp cloth, then dry again. Do not cook with visible dust still in the slots of a skimmer. Do not blow dust across a non-stick pan.
Return the salad spoon, spatula, or ladle to hanging storage or a dry crock. Keep the restored piece in the same care rhythm as the rest of the 9-piece set: rinse, dry, air. Lightweight teak that is smooth again is safe for non-stick cookware in the same way the unsanded pieces are, provided there is no remaining splinter.
If roughness returns in days, the tool is still living in water. Fix storage, not grit size.
Teak sanding checklist
Photo by cottonbro studio on Pexels
- [ ] Confirm the problem is raised grain or a nick, not food film.
- [ ] Wash, then dry completely.
- [ ] Fine paper only, strokes with the grain.
- [ ] Light pressure around handle holes and edges.
- [ ] Wipe all dust; dry again.
- [ ] Hand-wash afterward; do not dishwasher the restored piece.
Frequently asked questions
What grit should be used on teak wooden spoons?
Fine finishing paper is enough for raised grain. Coarse paper removes too much lacquer and too much wood.
Should the whole 9-piece set be sanded to match?
No. Sand the rough piece. Real wood already varies in shade. Matching by stripping everything is unnecessary.
Can power sanders be used?
A handheld sheet is safer. A spinning sander dishes a spoon bowl and burns through edges at a handle hole.
Will sanding make teak safe for non-stick pans again?
Smooth, splinter-free teak is the non-stick-friendly surface. A remaining burr is what can mark a coating. Feel the edge before it returns to a skillet.
Is sanding part of normal care under our craftsman's promise?
Our craftsman's promise covers product issues, not wear from soaking or dishwashers. Contact the maker if a piece arrived damaged rather than sanding a defect away.
Related reading
Sanding is a last-step restoration. Daily wash, oiling context, and seasoning guides belong beside it.
- how to clean and maintain teak utensils
- how to oil teak wood utensils
- how to care for teak wood utensils for longevity
- how to season teak utensils for durability
What to do next
Dry the rough utensil fully, then make three light grain-wise passes with fine paper and stop when the thumb does not catch. Wipe dust, wash once, dry again, and hang it. If the piece arrived splintered, skip the paper and contact our team.
Cover photo by Rachel Claire on Pexels.