
How to Store Teak Utensils with Handle Holes: Spacing & Hook Guide
Follow the 3-2.5-0.5 rule when storing teak wooden utensils via handle holes: select hooks with a wire diameter under 0.25 inches (6mm) to cleanly clear standard 0.31-inch (8mm) drilled holes, space hooks at least 2.5 to 3.0 inches apart on center to prevent 4.13-inch wide heads from overlapping, and maintain a 0.5-inch wall standoff gap to protect backsplashes and speed up drying.
Essential Specs for Hanging Teak Utensils
- 0.31" Hole Clearance: Standard teak utensil handle holes measure 0.31 inches (8mm); pair them with S-hooks or pegs under 0.24 inches (6mm) thick.
- 2.5" to 3.0" Center Spacing: Keeps wide utensils like skimmers and slotted turners (up to 4.13" wide) hanging side-by-side without clacking or scratching.
- 0.5" Standoff Distance: Mounting rails with a 0.5-inch depth keeps contoured wood heads off tile and drywall, eliminating scuffs.
- 15" Vertical Clearance: Allow 15 inches of vertical drop from rail to counter to comfortably house 13.58-inch utensil lengths.
- 100% Dry Before Hanging: Towel-dry end-grain inside handle holes to preserve the protective clear lacquer seal.
Hardware Sizing & Hole Clearance Specification Matrix
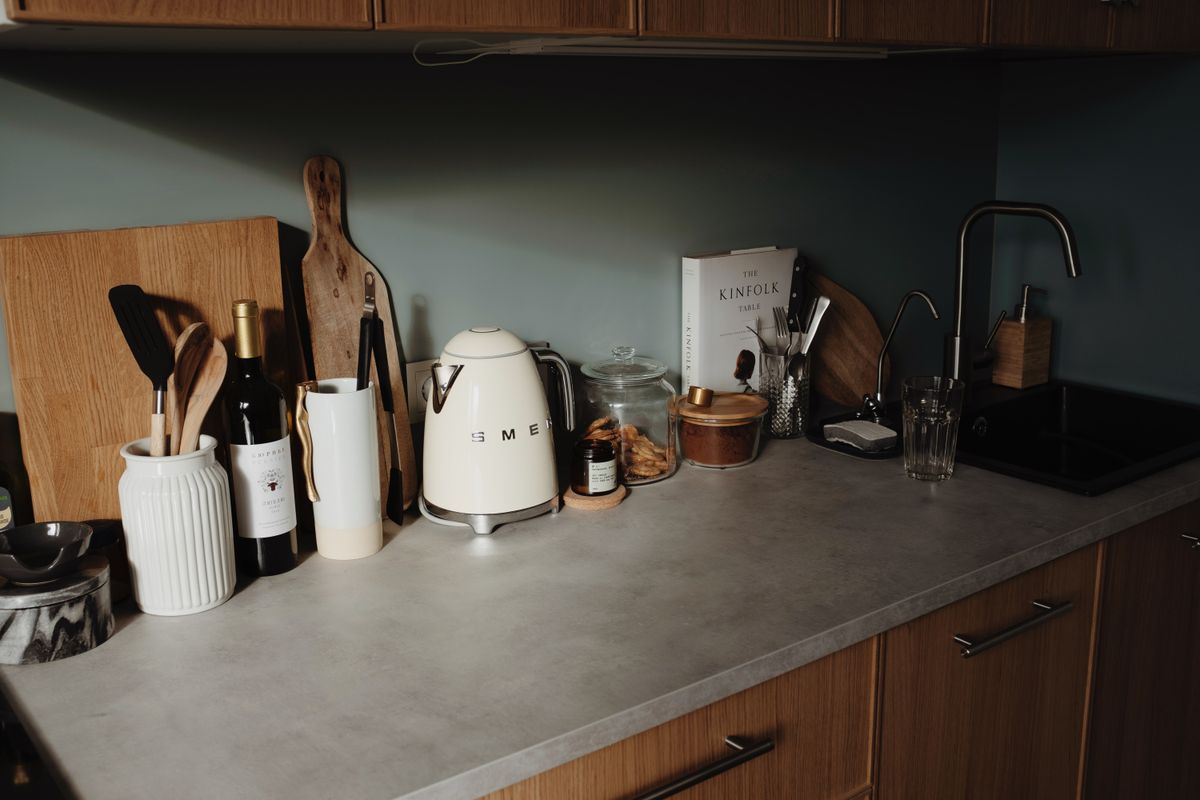
Photo by ready made on Pexels
| Dimension / Parameter | Measurement (Inches) | Metric Equivalent | Functional Requirement / Tolerance |
| --- | --- | --- | --- |
| Handle Hole Diameter | 0.31 in | 8.0 mm | Standard drilled opening across 9-piece utensil set |
| Max Hook Wire Gauge | 0.24 in | 6.0 mm | Ensures 0.07" slide clearance to prevent lacquer chipping |
| Wall Standoff Gap | 0.50 in | 12.7 mm | Minimum distance to keep 4.13" wide utensil heads off wall |
| Hook Center Spacing | 2.50–3.00 in | 63.5–76.2 mm | Prevents head overlap between turners, ladles, and skimmers |
| Vertical Drop Clearance | 15.00 in | 381.0 mm | Accommodates 13.58" utensil length plus S-hook curve |
| Utensil Set Weight (9 Pcs) | 1.85 lbs | 839 g | Lightweight teak heartwood total static rail load |
Use these precise physical measurements when selecting hanging hardware for high-density teak utensils.
Anatomy of an Ergonomic Hanging Utensil Display
The diagram below illustrates the exact physical tolerances required to hang a 13.58-inch teak spatula safely without touching wall surfaces or crowding adjacent tools.
5-Step Wall Mounting Prep for Teak Utensils
- Verify handle hole diameter is at least 0.31 inches (8mm) before buying hooks.
- Ensure hook wire gauge is 0.24 inches (6mm) or thinner for smooth slide-on engagement.
- Check vertical clearance: Confirm 15+ inches from rail to counter for 13.58-inch utensils.
- Confirm wall standoff gap is 0.5 inches minimum to keep spoon heads off wall surfaces.
- Prepare clear silicone bumper pads if mounting near painted drywall or delicate glazed tile.
Pro Tip: Moisture Management Around Drilled Handle Holes
When wooden utensils are washed, gravity pulls residual water droplets down the handle toward the drilled hole. Because end-grain wood exposed inside drilled holes absorbs moisture 3 times faster than face-grain surfaces, hanging dripping utensils can lead to localized swelling or lacquer degradation.
The Fix: After rinsing with mild dish soap and warm water, take a dry microfiber cloth, twist the corner into a thin cone, and swab the interior of the 0.31-inch handle hole. Ensuring this small cavity is dry before hanging keeps your teak utensils looking glossy, fresh, and pristine for a lifetime.
Choosing Your Storage System: Rails, Pegboards, or Under-Cabinet
Selecting the ideal vertical display method depends on wall material, rental constraints, and dampness management.
Best choice for
- Wall-Mounted Metal Rail with S-Hooks — Provides a rigid 0.5-inch wall clearance, supports heavy teak tools safely, and elevates countertop decor.
- Heavy-Duty Adhesive Wall Hooks (3lb+ rated) — Avoids tile or drywall damage while allowing customized 2.5-inch spacing for 13.58-inch handles.
- Under-Cabinet Swivel Hooks — Reclaims dead space underneath upper cabinets while keeping handles vertically accessible.
- Avoid hooks with sharp 90-degree bend radii that can scratch the protective lacquer coating inside the handle hole.
- Avoid flush-mounted flat wooden pegs that force wide spoon heads to rest directly against painted drywall.
- Countertop Utensil Crock — Best if wall space is restricted or drilling into stone backsplashes is unfeasible.
Featured Teak Utensil Collection
Elevate your vertical setup with our complete 9-piece teak kitchen utensil set, engineered with precision-drilled handle holes for effortless hanging.
1. Hardware Wire Gauge & Hole Tolerances
When hanging wooden cooking utensils, hardware clearance is the difference between a smooth, one-handed grab while cooking and an annoying jam that scratches your utensil's protective coating. Standard high-end teak tools—such as our 9-piece collection—feature precision-drilled handle holes measuring 0.31 inches (8mm) in diameter.
To ensure effortless slide-on and slide-off action, your hook or wire peg must have a outer diameter of 0.24 inches (6mm) or smaller. This leaves a 0.07-inch (1.8mm) tolerance gap. If you use decorative hooks with a wire thickness of 0.30 inches or greater, the metal will wedge against the interior wood grain, cracking the protective clear lacquer layer over time.
2. Ergonomic Spacing Math for 9-Piece Sets
Unlike thin stainless steel spatulas, teak utensils boast rich, organic shapes with head widths reaching up to 4.13 inches (105mm) on skimmers, ladles, and slotted turners. Mounting your hooks too close together forces tool heads to overlap, causing them to clatter and scratch when you pull one down.
Calculate your total hanging rail length using this visual math formula:
- Minimum Center-to-Center Hook Distance: 2.50 inches (63.5mm) for standard turners; 3.00 inches (76.2mm) for wide skimmers and ladles.
- Total Rail Length for 9 Utensils: `(9 tools × 2.5 inches) + 2.0 inches end padding = 24.5 inches total rail length`.
3. Wall Standoff & Scuff Prevention
Because teak spatulas and ladles feature gentle curves that bow outward up to 1.2 inches, mounting a hanging rail flush against a wall will force the utensil heads to rest directly against your backsplash. Every time you remove or replace a tool, the wood head taps against the wall surface, leaving unsightly scuffs on painted drywall or matte ceramic tile.
To prevent wall scuffing, ensure your hanging rail or hook system provides a minimum 0.50-inch (12.7mm) wall standoff clearance—measured from the wall to the inside curve of the hook. This depth ensures the contoured head of a 13.58-inch utensil hangs freely in mid-air.
Bonus Hack: If your wall rack has a shallower 0.25-inch depth, apply a tiny 0.20-inch clear silicone cabinet bumper to the flat backside of the utensil head. The soft bumper buffers wall contact silently without altering the natural wooden aesthetic.
4. Vertical Hanging Height & Reach Curves
A full 9-piece teak utensil set measures 13.58 inches (345mm) from handle tip to head edge. Adding a standard 2.5-inch S-hook brings the total vertical hanging drop to 16.08 inches.
Position your mounting rail at least 18 to 20 inches above your countertop, or 15 inches above an under-cabinet splash rail. This leaves a clean 2- to 4-inch visual gap above the counter surface, keeping utensil heads free from food spills or counter wipe-downs.
Hanging Hardware Comparison by Kitchen Scenario
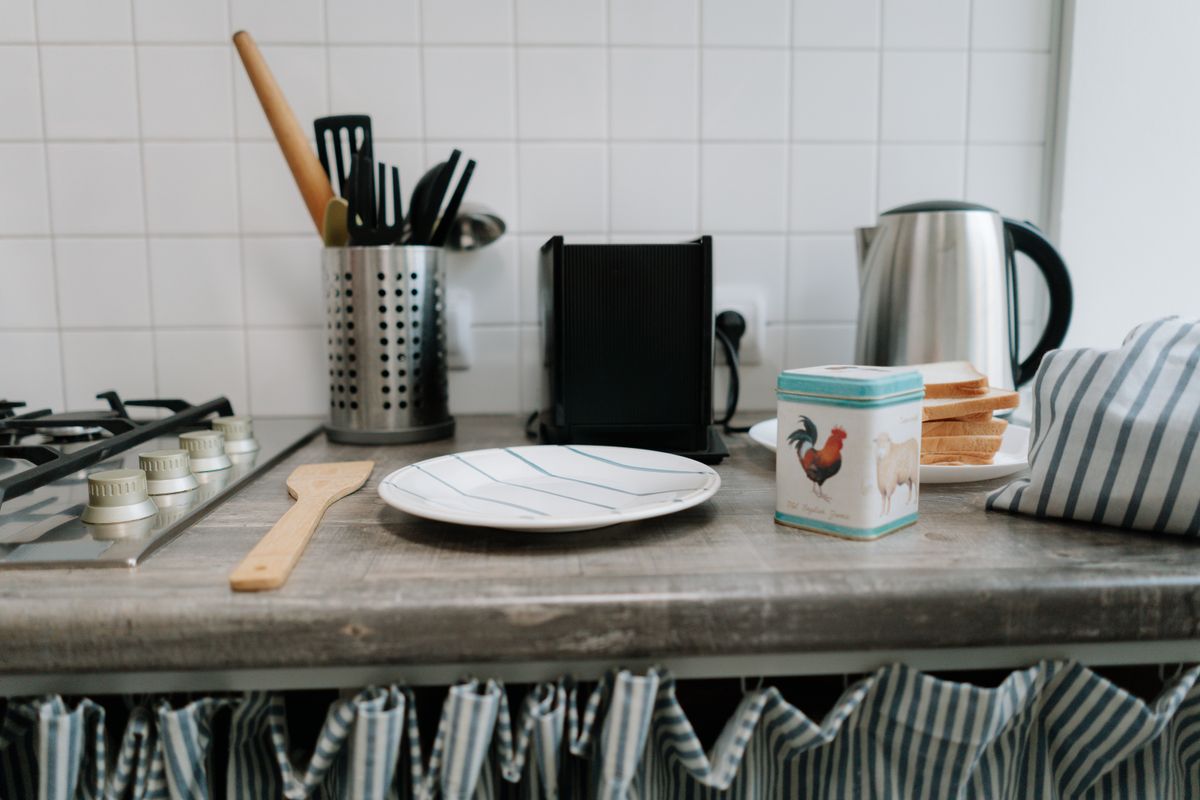
Photo by cottonbro studio on Pexels
| Kitchen Scenario | Recommended Hardware | Standoff Gap | Weight Capacity | Scuff Risk | Best Feature |
| --- | --- | --- | --- | --- | --- |
| Tiled Backsplash (Homeowner) | Wall-Mounted Brass Rail with S-Hooks | 0.50 in | 15+ lbs | Low | Rigid standoff distance keeps wide spoon heads off tile. |
| Rental Kitchen (No-Drill) | Heavy-Duty Adhesive Utility Hooks | 0.35 in | 3 lbs / hook | Medium | Zero wall damage; allows custom 2.5" spacing intervals. |
| Under-Cabinet Mounting | 360° Swivel Under-Shelf Hooks | 0.75 in | 5 lbs | Very Low | Reclaims unused overhead space beneath upper cabinets. |
| Drywall / Plaster Wall | Wooden Wall Bar with Integrated Pegs | 0.60 in | 10 lbs | Low | Natural wood aesthetic matches warm teak wood grain tones. |
Match your kitchen's backsplash material and mounting style to the ideal hardware setup.
4 Mistakes That Damage Teak Handles and Kitchen Walls
Avoid these four common installation mistakes when setting up vertical utensil storage:
Frequently Asked Questions About Storing Teak Utensils
Get fast answers to common questions about hardware sizing, spacing math, and wall care for teak utensil sets.
Your Action Plan for Hanging Utensils
Your decision: Determine your wall mounting method based on your kitchen backsplash material and rental status.
Do this next: Measure your handle hole diameters (0.31" for standard 9-piece set) and order S-hooks with a wire gauge under 0.25 inches.
- Read next: The Best Wall Racks and Hooks for Hanging Wooden Cooking Utensils
- Read next: Hanging vs. Crock Utensil Storage: Which Countertop Style Fits Your Kitchen?
Elevate your vertical setup with our complete 9-Piece Teak Kitchen Utensil Set, engineered with precision-drilled handle holes.
Transform your kitchen counter organization with the perfect vertical setup.
Explore Related Kitchen Styling & Care Guides
Connect readers to cluster and pillar articles.
Cover photo by Karolina Grabowska www.kaboompics.com on Pexels.