
Styling Teak Wood Utensils on the Countertop: Answers to Your Top Decor FAQs
If you just unboxed a set of 13.5-inch teak tools and want your kitchen counter to look like an interior designer's showcase rather than an overcrowded prep station: display 5 to 7 core pieces in a heavy 7-to-8-inch ceramic or marble crock. Fan the utensil heads outward, layer handle heights with the tallest tools in the back, and place the container at least 12 inches away from direct stovetop grease splatter.
Styling Decision Support: Choosing Your Countertop Display Strategy
Choose a styling method based on available counter space, ceiling clearance, and cooktop proximity.
Best choice for
- Weighted Ceramic Crock (7-8 inches tall) — Holds 13.5-inch utensils upright without tipping while consuming a minimal 6-inch footprint.
- Wall-Mounted Brass or Matte Black Bar — Utilizes built-in handle holes, freeing counter surface while highlighting rich teak grain against tile.
- Layered Vignette (Wood Board + Crock + Salt Cellar) — Creates visual depth and anchors natural textures in focal kitchen zones.
- Placing unsealed teak utensils within 6 inches of open gas flames
- Storing 13.5-inch tools in light shallow crocks under 6 inches deep (causes tipping)
- Packing all 9 tools tightly into a narrow neck jar, hiding golden grain variations
- Drawer Organization with Molded Tray — Best if countertop space is strictly reserved for prep work and completely zero-clutter preference.
Display Strategy Comparison
| Display Method | Ideal Counter Space | Best Crock Height | Visual Impact | Maintenance Level | | :--- | :--- | :--- | :--- | :--- | | Weighted Crock Display | Standard (18" cabinet gap) | 7.0" – 8.0" | High organic warmth; focal accent | Low (weekly dusting/wipe down) | | Wall-Mounted Rail | Minimal counter space | N/A (Hanging) | Sleek vertical visual line | Very Low (air dries easily) | | Layered Vignette Board | Spacious / Island corner | 6.5" – 7.5" | Architectural depth & luxury feel | Medium (wipe tray & crock base) |Countertop Vignette Gallery & Layout Inspirations
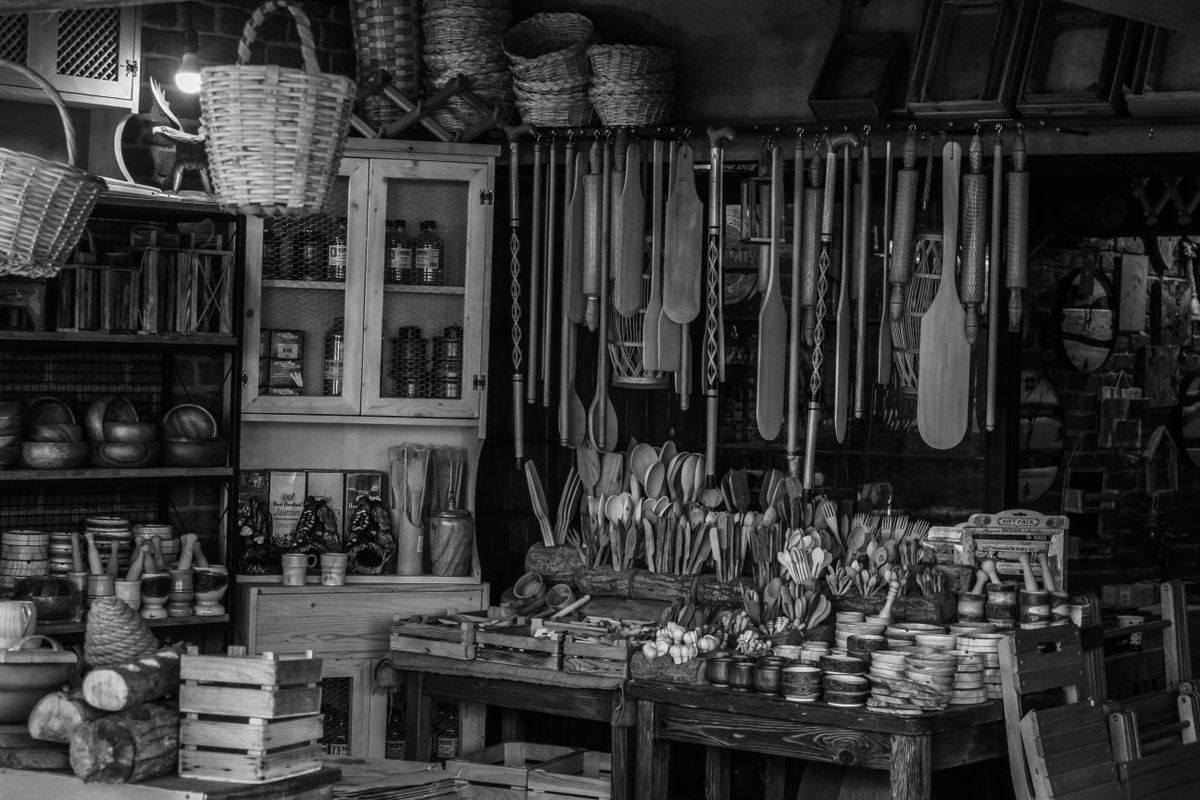
Photo by Muhammed Zahid Bulut on Pexels
A well-styled countertop vignette transforms everyday cooking tools into intentional home decor. Here is how professional interior stylists pair warm golden teak wood with popular kitchen aesthetics:
- Modern Farmhouse: A matte white ribbed ceramic crock sitting on a round reclaimed wood riser, flanked by a stoneware salt cellar and a sprig of fresh rosemary.
- Minimalist Luxury: A heavy, white-veined black marble crock positioned directly on polished quartz counters, highlighting the rich golden honey hues of the teak handles.
- Warm Organic Boho: A unglazed terracotta vessel paired with an olive oil glass cruet and an oak salt mill, celebrating raw tactile textures.
Designer Pro-Tip: Height Staggering & Wood-Grain Contrast Rules
When styling a 9-piece wooden set, never dump all tools in blindly. Apply the Rule of Three Tiers:
> Stylist Rule: Always establish contrast between your crock and your wood tone. If you have golden teak utensils, avoid a matching teak crock—it creates a blob of monochromatic brown. Opt for matte ceramic, concrete, or stone to make the grain pop.
Key Styling Principles at a Glance
- Container Ratio: Choose a crock that is 7 to 8 inches tall (roughly 55-60% of the utensil length) to prevent 13.5-inch handles from tipping.
- Curate Your Display: Showcasing 5 to 7 daily-use pieces creates a clean, intentional silhouette; store extra duplicates in a drawer.
- Mind the Splash Zone: Keep countertop crocks at least 12 inches away from cooktop burners to prevent grease film buildup.
- Embrace Natural Shading: Real teak wood naturally features subtle tone variations from golden honey to deep walnut—this adds handcrafted luxury, not a mismatched look.
- Texture Contrast: Pair smooth lacquered teak wood with matte ceramic, veined marble, or brushed metal for maximum visual impact.
Recommended Display Foundation: The 9-Piece Teak Utensil Collection
The key to effortless countertop styling is starting with tools designed to be seen. Our 9-Piece Teak Kitchen Utensil Set is handcrafted from high-grade organic teak wood, sealed with a clear protective lacquer finish that highlights contrasting grain lines while offering high water resistance.
Each 13.58-inch piece—including the ladle, skimmer, spatulas, turners, pasta server, and salad servers—features pre-drilled handle holes for wall-rail hanging or balanced crock display. Packaged in a stunning sliding gift box, it is the ultimate upgrade for your culinary space.
Ready to elevate your kitchen decor? Order your 9-Piece Teak Utensil Set today at TeakUtensils.com and bring functional elegance to your countertop!
Countertop Utensil Styling Checklist
- Select a crock with minimum 7-inch height and heavy base to balance 13.5-inch handles.
- Curate 5 to 7 tools for outer display, keeping heads facing outward to show grain.
- Stagger utensil heights: tall skimmer/ladle in rear, slotted turners in middle, salad fork in front.
- Maintain at least 10–12 inches distance from primary burner zones to prevent cooking splatter.
- Ensure 2–3 inches clearance between top of longest handle and upper cabinet underside.
- Pair warm golden teak with contrasting container textures (matte white, dark stoneware, or marble).
5 Common Teak Utensil Styling Fails (And How to Fix Them)
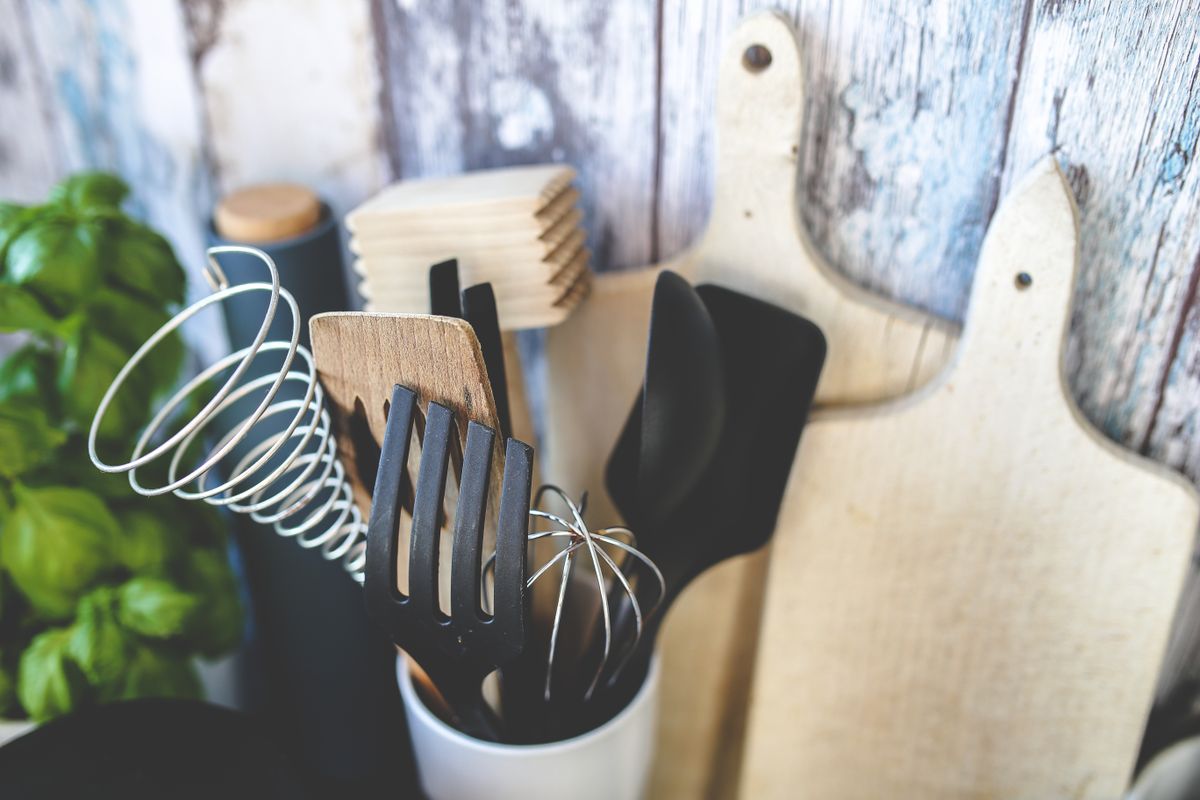
Photo by Karolina Grabowska www.kaboompics.com on Pexels
Avoid these frequent countertop decor mistakes to keep your kitchen looking polished and functional:
Frequently Asked Questions: Teak Utensil Countertop Decor
Here are expert answers to the most common countertop placement and styling questions from home cooks and decor enthusiasts:
Explore Related Kitchen Styling & Care Guides
Deepen your knowledge of natural wood kitchenware aesthetics and care with these recommended resources:
- Choosing the Best Crock for Teak Utensils: Ceramic, Stainless Steel, or Wood?
- Hanging vs. Crock Utensil Storage: Which Countertop Style Fits Your Kitchen?
- How to Protect and Maintain the Glossy Warm Finish of Your Teak Kitchen Utensils
- Stovetop to Table: How to Serve Daily Meals Elegantly Using Teak Utensils
Styling Action Plan: Transforming Your Countertop in 4 Steps
Your decision: Determine whether your kitchen counter suits a centered ceramic crock display or an integrated wooden vignette board.
Do this next: Measure your cabinet clearance height, select 5 to 7 primary teak tools for front-facing display, and place them in a 7-inch weighted container positioned 12 inches away from direct stove grease splash.
- Read next: How to Protect and Maintain the Glossy Warm Finish of Your Teak Kitchen Utensils
- Read next: Choosing the Best Crock for Teak Utensils: Ceramic, Stainless Steel, or Wood?
Transform your countertop aesthetics with our 9-Piece Elegantly Designed Teak Kitchen Utensil Set, featuring natural grain variation and convenient hanging holes.
Ready to turn your kitchen counters into a cozy, chef-worthy masterpiece? Follow this straightforward action plan to curate your utensil display today.
Cover photo by Cup of Couple on Pexels.